If you are in the process of developing an electronic product you may be wondering what that product will cost to produce. There are many things to consider; what is the cost of the blank PCB? What does the bill of materials cost? And of course, what is the cost of assembly? In this article we will explore the cost of assembly, what design decisions will effect that cost, and how you can save on printed circuit board assembly.
What contributes to the cost of a completed Electronic Assembly?
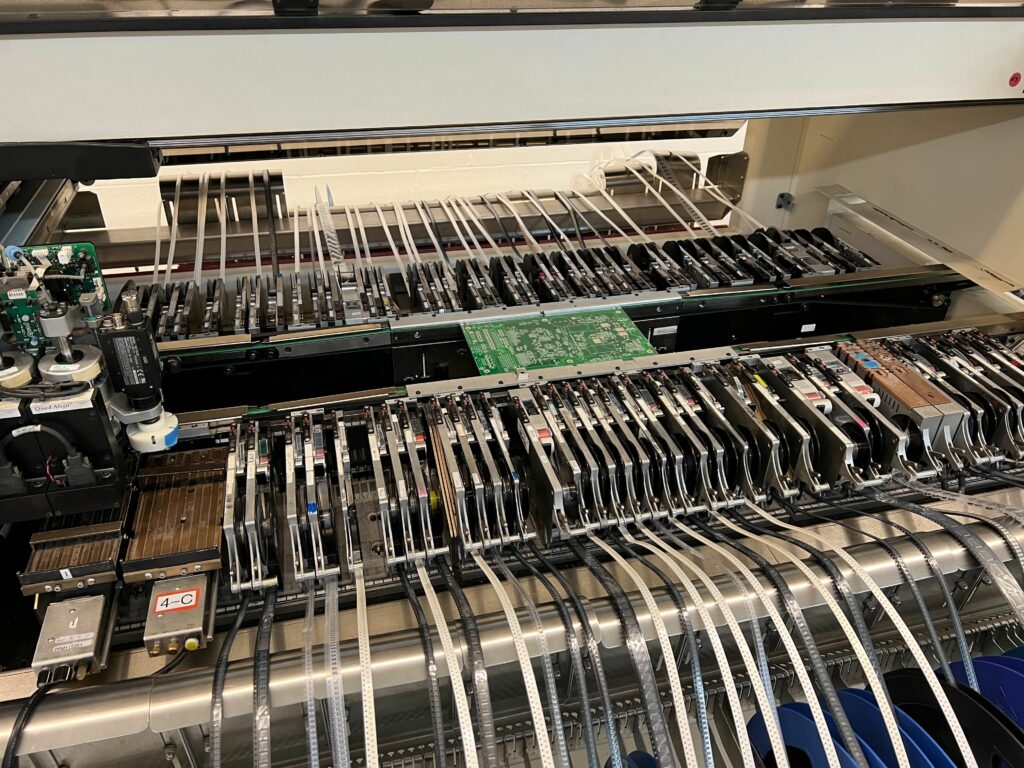
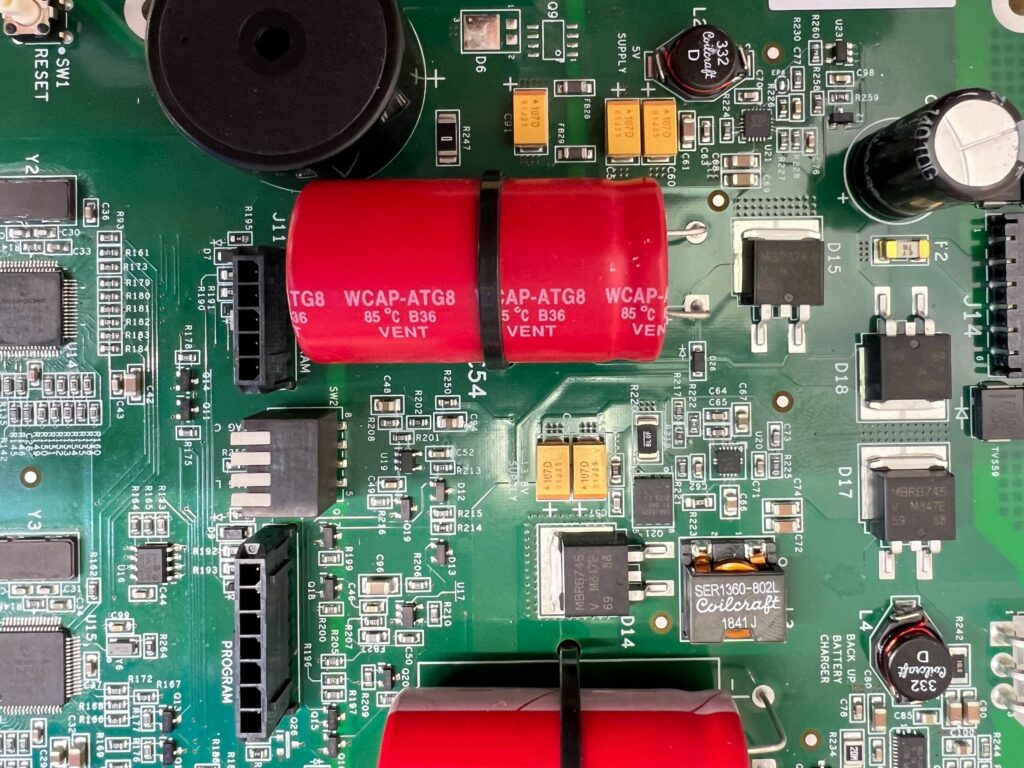
Components – The component population is usually the largest cost difference in a completed electronic product. Selecting low cost and highly available components will provide the biggest savings in your design. This is not always possible as some applications require specialized hardware.
Blank PCB – PCB cost is usually based on surface area and number of layers. If you can keep the layer count to 2 you will see the greatest savings here. More layers result in a higher PCB cost. Other factors in the PCB that will typically affect price are thickness, finish, solder mask color, and sometimes plated via/though-hole count.
Assembly – There are several factors in the cost of assembly, but it all comes down to complexity. Modern assembly facilities use highly automated processes to construct completed circuit boards. Despite this, labor is still the single greatest cost in circuit board assembly. It takes several worker hours to load components into a pick and place, setup and create a soldering stencil, complete through hole assembly, inspection, QC, and functional testing.
SMT Assembly Cost factors
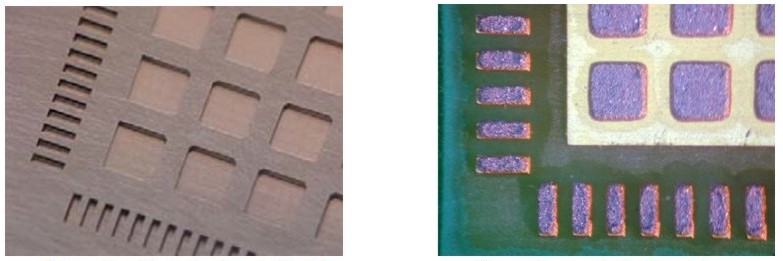
Stencils – The solder print stencil is typically laser cut stainless steel sheet that is stretched across an aluminum frame. For basic SMT assembly with parts that are 0603 and larger, these basic stencils perform well. As parts get smaller and pin pitch gets tighter however, more complex printing is required. The first tier is mechanical or electropolishing which smooths the rough edges of the stencil aperture to allow for better solder paste release. As you get into fine pitch QFN or smaller microelectronics (think 0201 and 01005) you start to require more expensive stencil treatments. We commonly treat stencils for microelectronics with Self Assembling Monolayer Phosphonate nanocoating (SAMP). These coatings make a smooth slippery surface inside the apertures which make the paste less likely to stick in tiny openings of the stencil and more likely to pass through onto the PCB. The manufacturer will usually use minimum part size and pitch to determine the cost of this step.
SMT Placement – Typically speaking, a contract manufacturer will look at three factors in the SMT placement/population process.
- The total number of unique parts in an assembly (also known as the number of lines in the BOM). This determines how many feeders are required for assembly, how much time it will take to program an assembly, and how much time it will take to perform the line change over to prepare production of your board.
- The total number of placements. This number determines how much time it will take to program the pick and place machine to populate the board as well as how much time each board will spend on the assembly line.
- Whether both sides of your PCB have placements or just the top side. This one probably goes without saying, but it essentially doubles the assembly cost if the board has to run down the SMT line twice. Having parts on both sides of your board can also mean that your board will require special tooling or processing in order to be completed.
Reflow – In most instances, the reflow process will not affect pricing that much. There are extreme cases for a large thermal mass in a design that can make reflowing a board difficult, but this is typically rare. We have only seen this occur with very specialized hardware.
Inspection – The most common inspection process is Automated Optical Inspection (AOI). AOI involves a series of cameras photographing and performing computer vision analysis on each component installed. The most advanced AOI systems can make a 3D model of each part and measure the milligrams of solder on each solder joint. These systems can quickly detect defects in a finished board. If your assembly utilizes ball grid array packages (BGA) then the contract manufacturer will likely want to perform X-Ray inspection. X-Ray imaging of each board may incur additional cost.
Through hole Assembly Cost factors
Assembly – Most assembly shops still do through hole assembly by hand. Parts are hand placed and the board is prepped prior to automated soldering. Because of this, the cost of through hole parts is usually high. Despite a trend toward fully SMT designs, it seems inevitable that boards still have a few through-hole parts. Many connectors are not available in SMT packages. To keep costs low, limit the number of through hole parts.
Soldering complexity – If the through hole parts can all be soldered in a single pass on the wave soldering machine, the cost will be the lowest here. If you have through hole parts on both sides of the PCB, or through hole solder joints on the same side as SMT parts, you will likely see higher engineering and tooling costs. This is because the SMT parts (or opposite side through hole parts) will need to be protected during the wave soldering process by building a specialized fixture called a soldering pallet. These pallets are usually complex and expensive to produce. Other options for complex soldering is the use of selective soldering equipment. Not all facilities have this equipment available but it can allow a manufacturer to perform complicated through hole soldering without damaging SMT components.
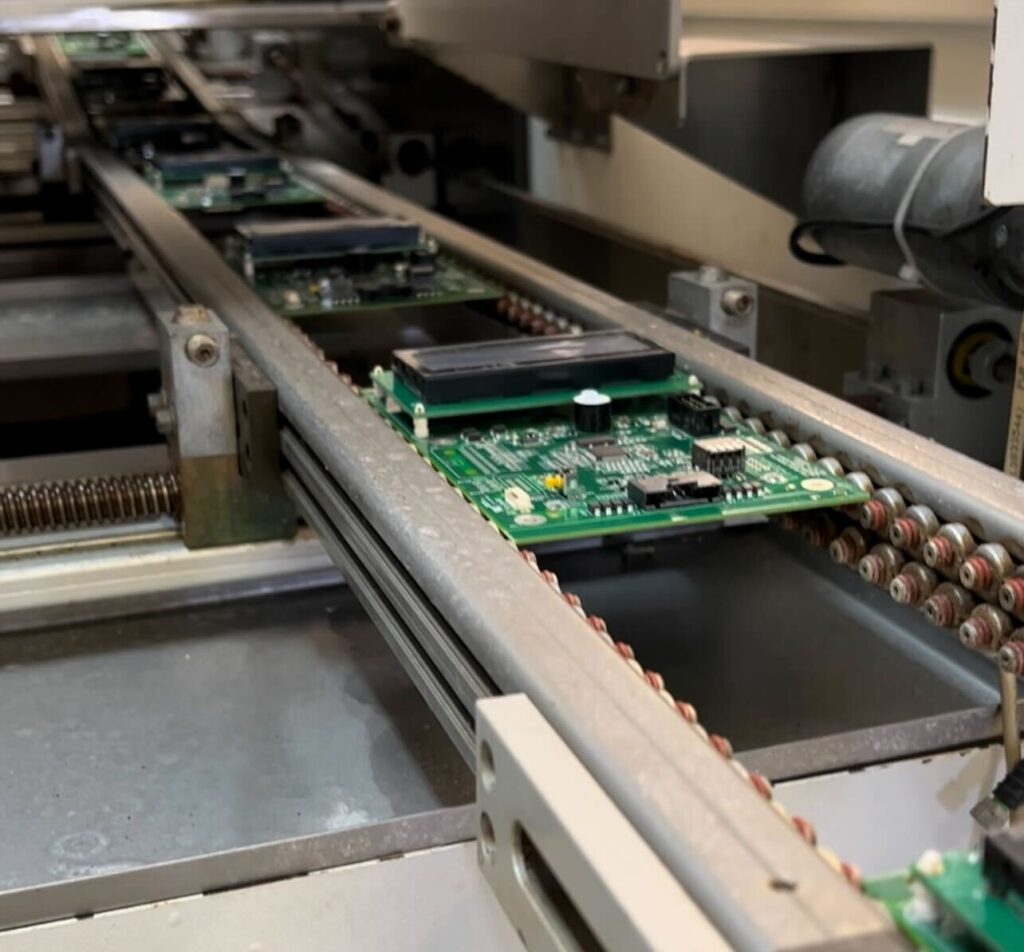
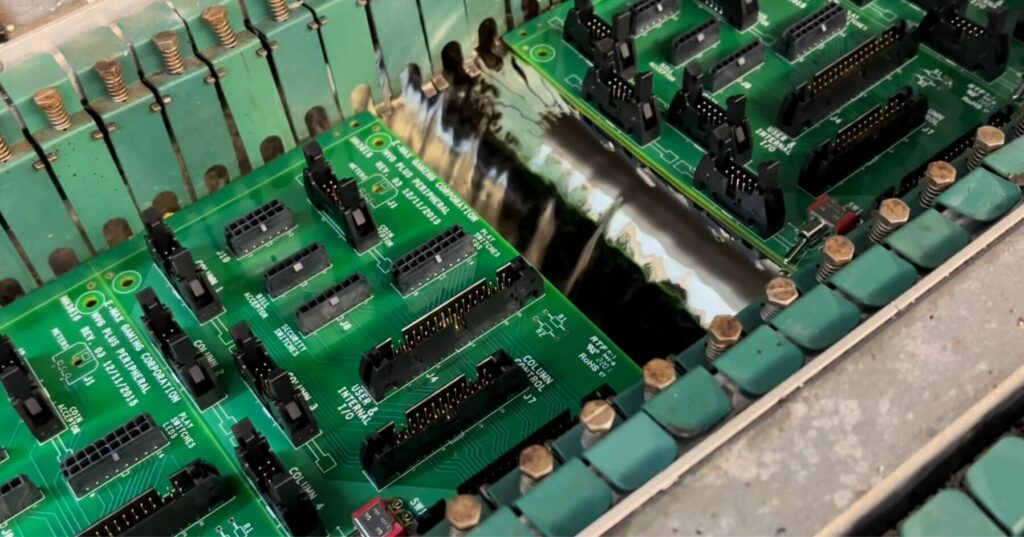
Unfilled or masked holes/contacts – During the wave soldering process, the entire bottom surface of the PCB is exposed to molten solder. For this reason, all plated through holes and exposed contacts will be soldered. This includes mounting holes. These holes will either be filled with solder (preventing any future use) or will need to be masked by a worker prior to soldering. This masking process takes time and thus carries a cost. When designing a PCB try to limit the amount of unused or unfilled holes on the PCB. Keep exposed pads on the solder side of the PCB to a minimum whenever possible.
Hand soldering – If your assembly has unusual or complex soldering which would not be possible to complete on a wave or selective soldering machine, it will need to be completed by hand. Depending on the difficulty and number of solder joints this may increase cost.
Other Cost Factors
Batch Size/Quantity – Quantity plays a big role in price for a number of reasons. The most obvious reason is the price breaks in component sourcing. Beyond this, there’s the fact that the manufacturer will have to divide the setup costs and engineering over fewer boards. Programming costs are usually one time even if multiple batches are completed. Setup fees however will typically occur on every batch. Setup fees cover line change overs and preparation to run you board.
Cost saving tips and Tricks
Below are a few ways you can save manufacturing cost and eliminate some of the pitfalls.
- Keep SMT parts on one side of the PCB whenever possible. Single sided assemblies take half as much time on the SMT line as double sided boards.
- Keep through hole parts to a minimum and keep them on the top side whenever possible (with soldering on the side opposite of any SMT parts). This avoids the need for costly tooling to solder through hole parts.
- Let your manufacturing partner know what your annual quantity will be and order blanket or batch orders whenever possible. They may work with you to reduce costs if they know they can divide engineering and setup costs over a years worth of orders. They may also source and inventory your entire order at once even though they only make smaller batches at a time. A good contract manufacturer will work with you to reduce costs. You should leverage their resources and expertise whenever possible.
Things to avoid
Sometimes cheap assembly has big unseen costs. Here’s what you can watch for and avoid.
- Don’t compromise on quality. You should never accept boards that have not been inspected or through a QC process. At Tritium we AOI every board and offer free functional testing on most assemblies. Boards passing through our lines are inspected a minimum of 4 times. Don’t accept a manufacturing process that can put your product at risk due to quality issues.
- Offshore might not be cheaper – This goes with the quality point above. At first glace the cost of overseas manufacturing may be significantly cheaper. But not included in these prices is import tariffs, rising shipping costs, and costs associated with quality issues. We have heard horror stories from our customers about product arriving from overseas manufacturers with defects. Issues include disregarded moisture sensitivity requirements, use of unauthorized or counterfeit chips, and improper ESD handling. What’s worse is that some of these QC problems are not apparent in initial functional testing. This means product can ship to customers having passed QC only to develop a problem in the near future. Keep these things in mind when selecting a manufacturer. Having a manufacturing partner that is local to your region has many benefits. Don’t accept a manufacturer that will cut corners. To learn more about offshore vs onshore click here.
Partner with Tritium Electronics
Tritium is here to help you with this process. We see ourselves as your partner in electronics manufacturing and will work with you to help assess design for manufacturing, component sourcing, and provide you with full supply chain services. We will work to keep your manufacturing costs low. Our state of the art manufacturing facility in Northern Ohio builds boards with no compromises on quality. If you’d like to discuss your project with one of our expert consultants please reach out using the contact link below. We also provide instant online quoting through our web portal. Let us know how we can help!
I do electronics and programming for Elite Laser Tag Equipment. We have a new product that we’ve used PCBWay to assemble for us, and we’d like to bring that manufacturing stateside if we can. Our products are always very simple — the first that I have in mind has an ESP32, 20ish passives, and some connectors. Easy-peasy. I have the Gerbers and a BOM in the format required by PCBWay and was hoping to run it through your quote system. What I’m looking for is an example of how you’d like the BOM formatted.
We’ve just moved several products into production using Shenzen CM’s.
We are US based and would be interested in seeing what the cost basis would be to move production to the USA.
Products are available at:
https://www.crowdsupply.com/teledatics-inc/halo-td-xpah
Best,
James Ewing, CEO
Teledatics Incorporated